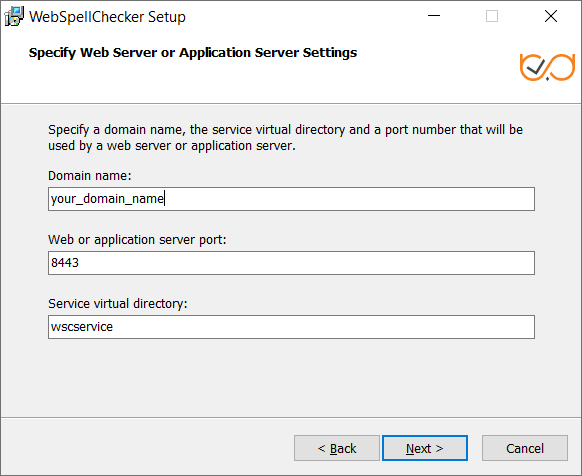
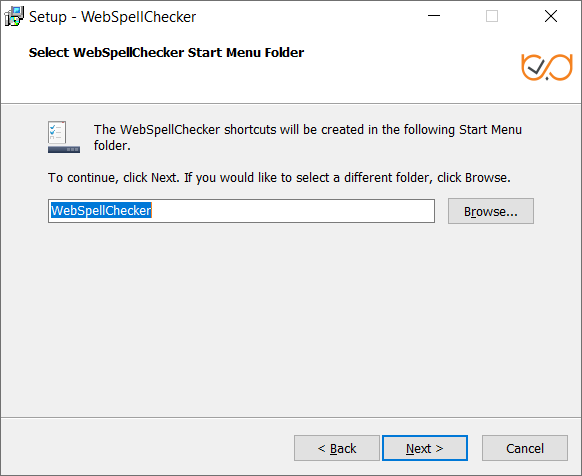
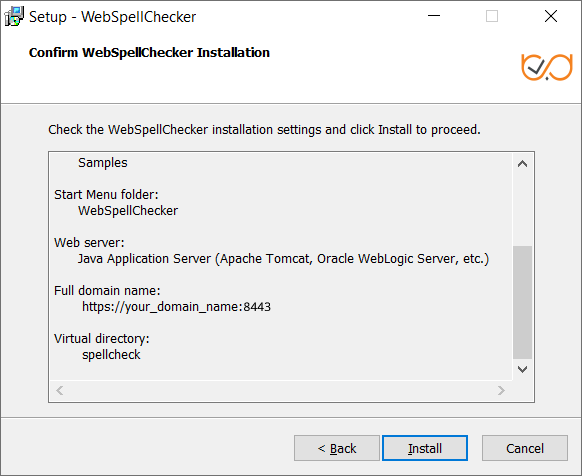
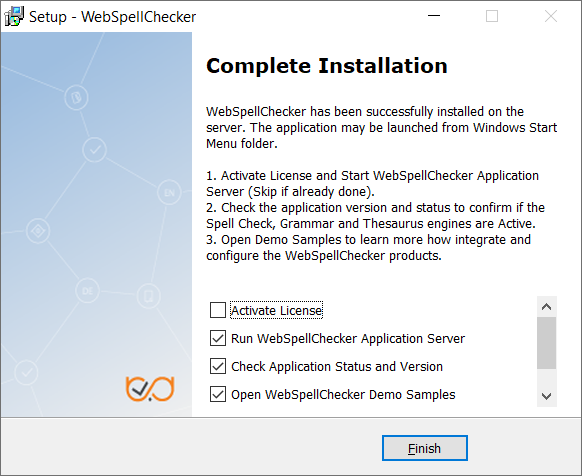
2.9. Define settings of the selected Java application server and click Next to proceed. Provide the name of the virtual directory for WebSpellChecker service. The default value is wscservice. 2.10. Select WebSpellChecker Start Menu folder and type a program name which will be used as a Start Menu item and click Next to proceed. 2.11. On this step the installer summarizes the information that you have entered on the previous steps. Click Install to proceed with the installation process or return to previous steps if you want to make any changes. 2.12. As soon as the installation process is finished, select Activate License if you are installing WebSpellChecker Server for the first time and then click Finish to close the installation dialog. You can view the samples and verify application operability in newly opened web browser tabs, namely Samples page, a page with Status check, and a page with Version check. Note that all these options are selected by default. The Activate License option is not selected only if you reinstall WebSpellChecker on the same server.
Privacy Policy![]() | Terms of Service
| Terms of Service![]()
©2024 WebSpellChecker LLC. All Rights Reserved.


