This guide outlines the main steps that you need to follow to enable and configure the WProofreader plugin for WordPress.
The WProofreader plugin for WordPress checks spelling and grammar in multiple languages on websites, built with WordPress 4 and WordPress 5.x. For more details, installation instructions, and FAQs on WProofreader plugin for WordPress, refer to its description page.
Upgrade to a Pro version of WProofreader
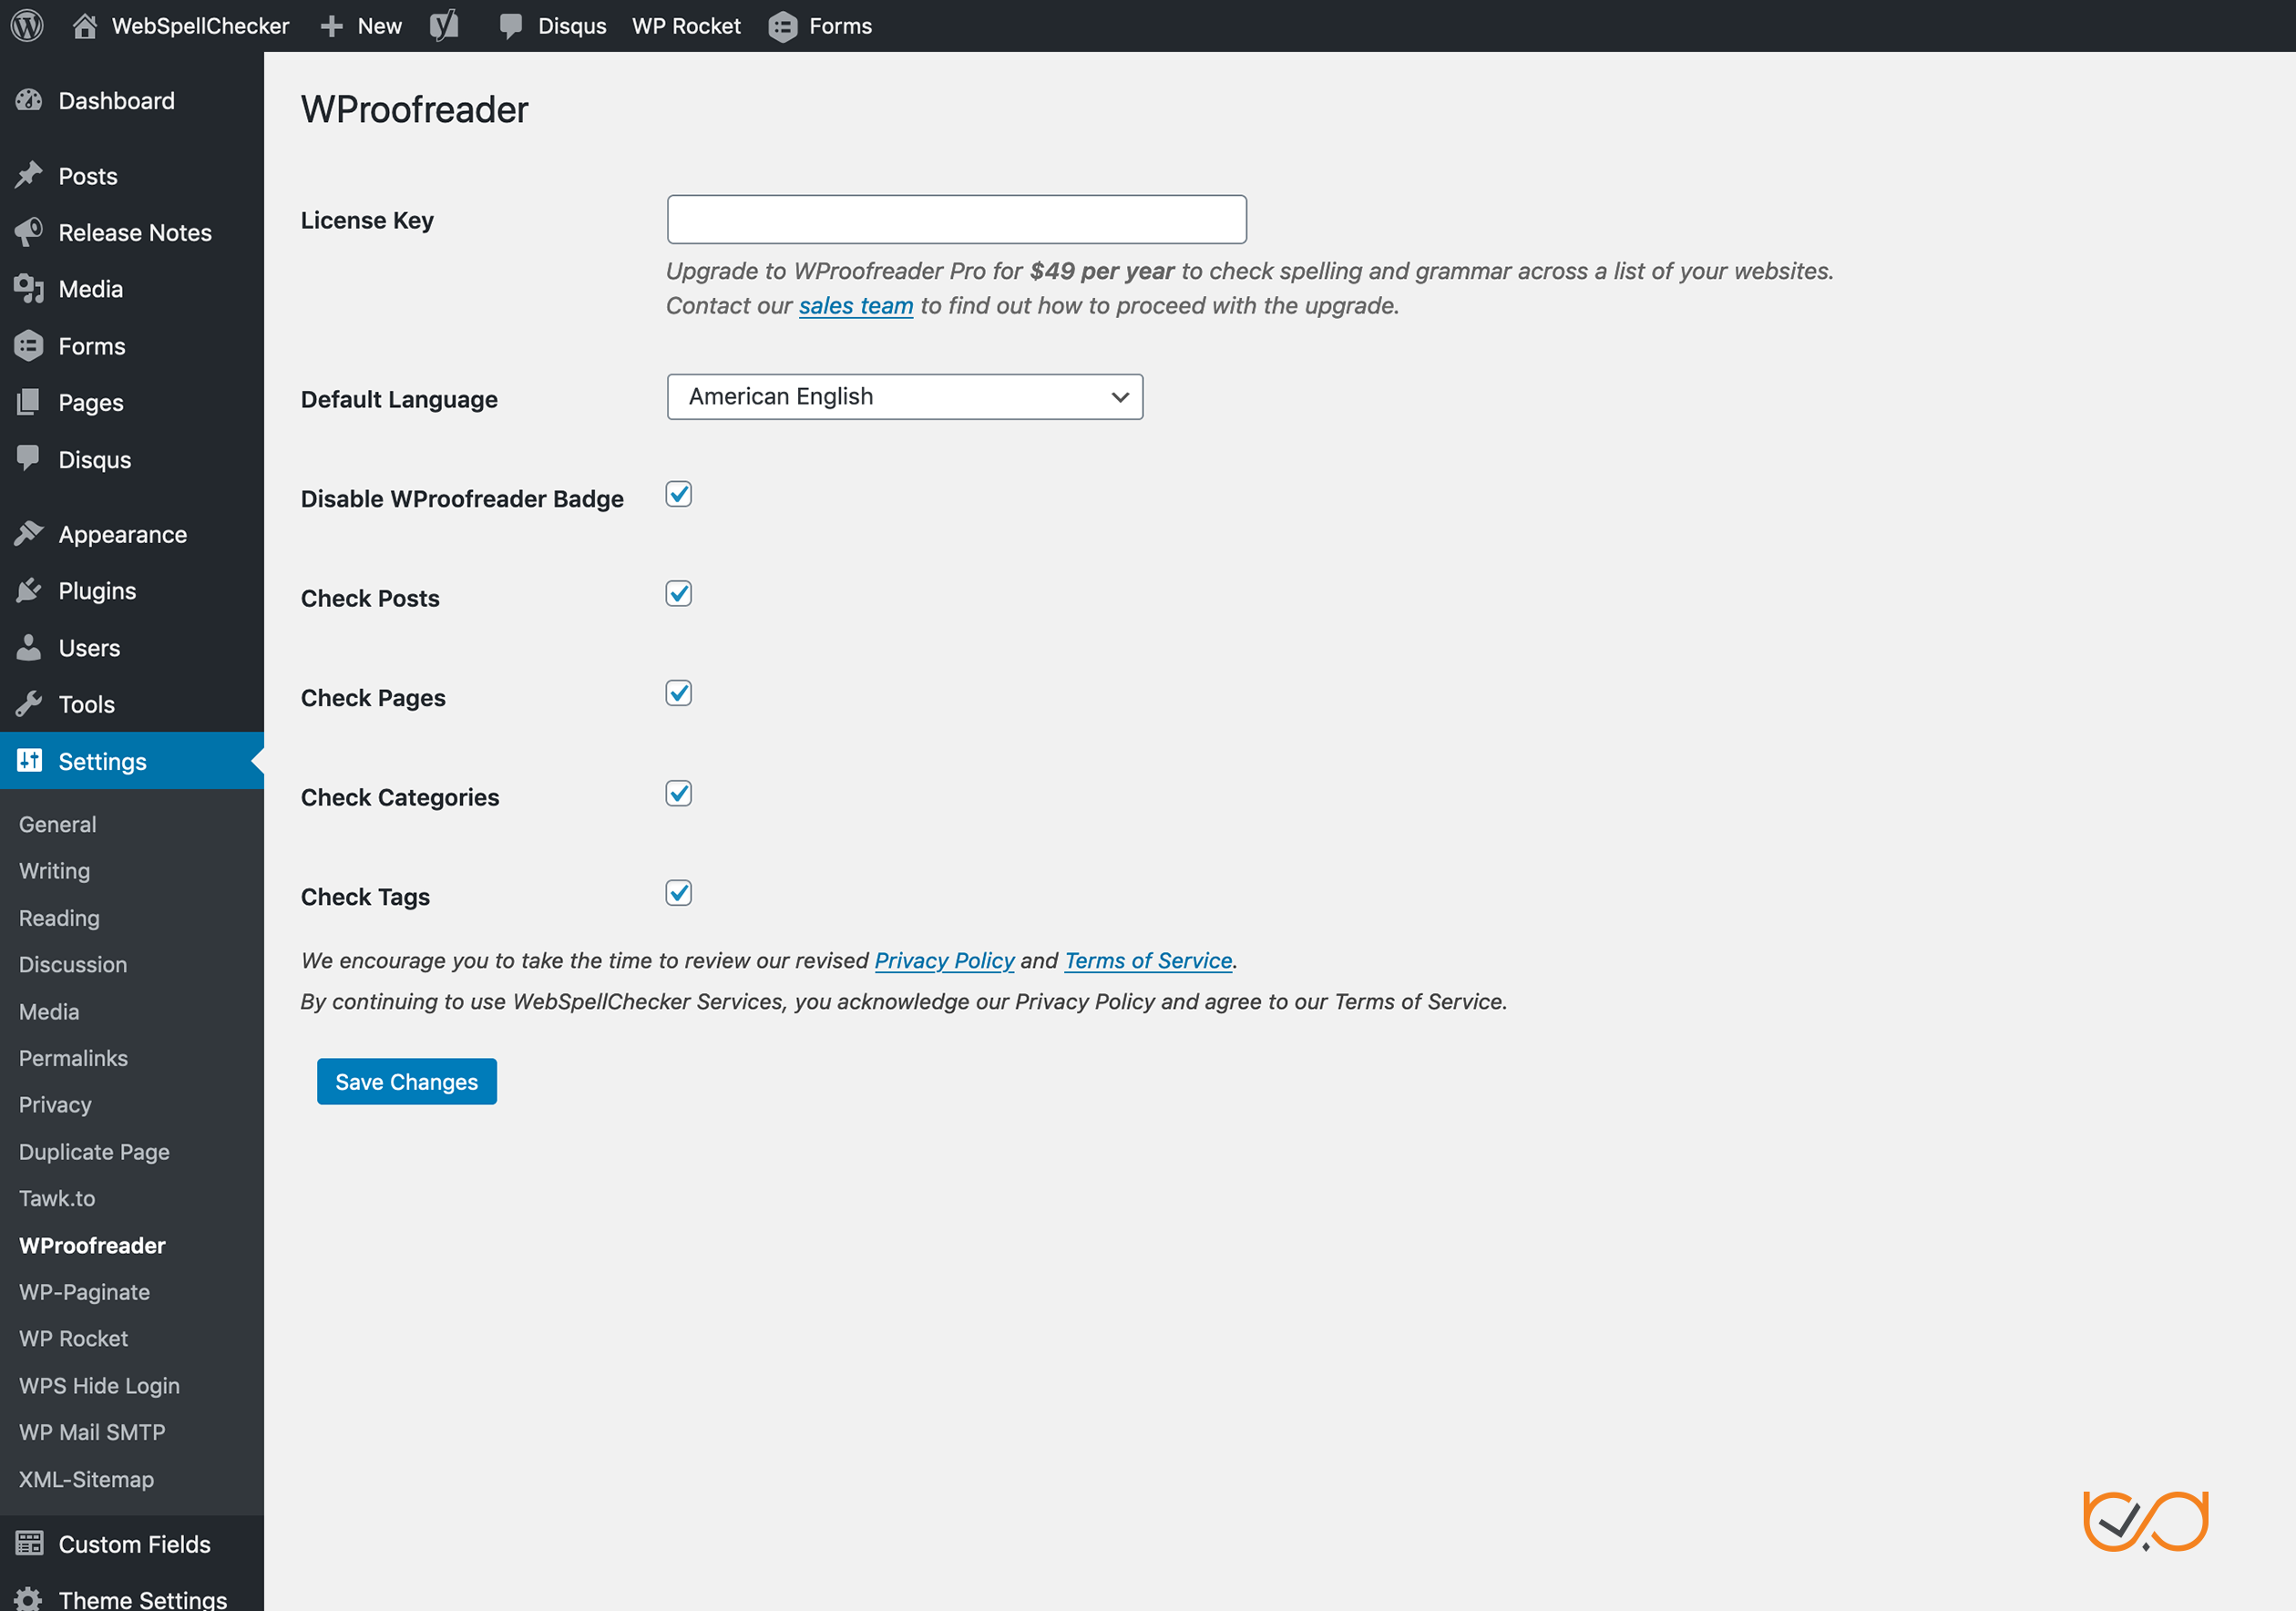
After you have installed the plugin following the installation instructions, you need to request a license and activate a Pro version of the WProofreader plugin for WordPress to experience its proofreading features and specify its settings. You can do it from the WordPress Administration console, Settings tab shown below.
You need a license key for migration to the Pro version of the WProofreader plugin. Contact our sales team for purchasing a WProofreader Pro license. Once you have received a license, paste it into the License key field and click Save Changes.
Select the default language
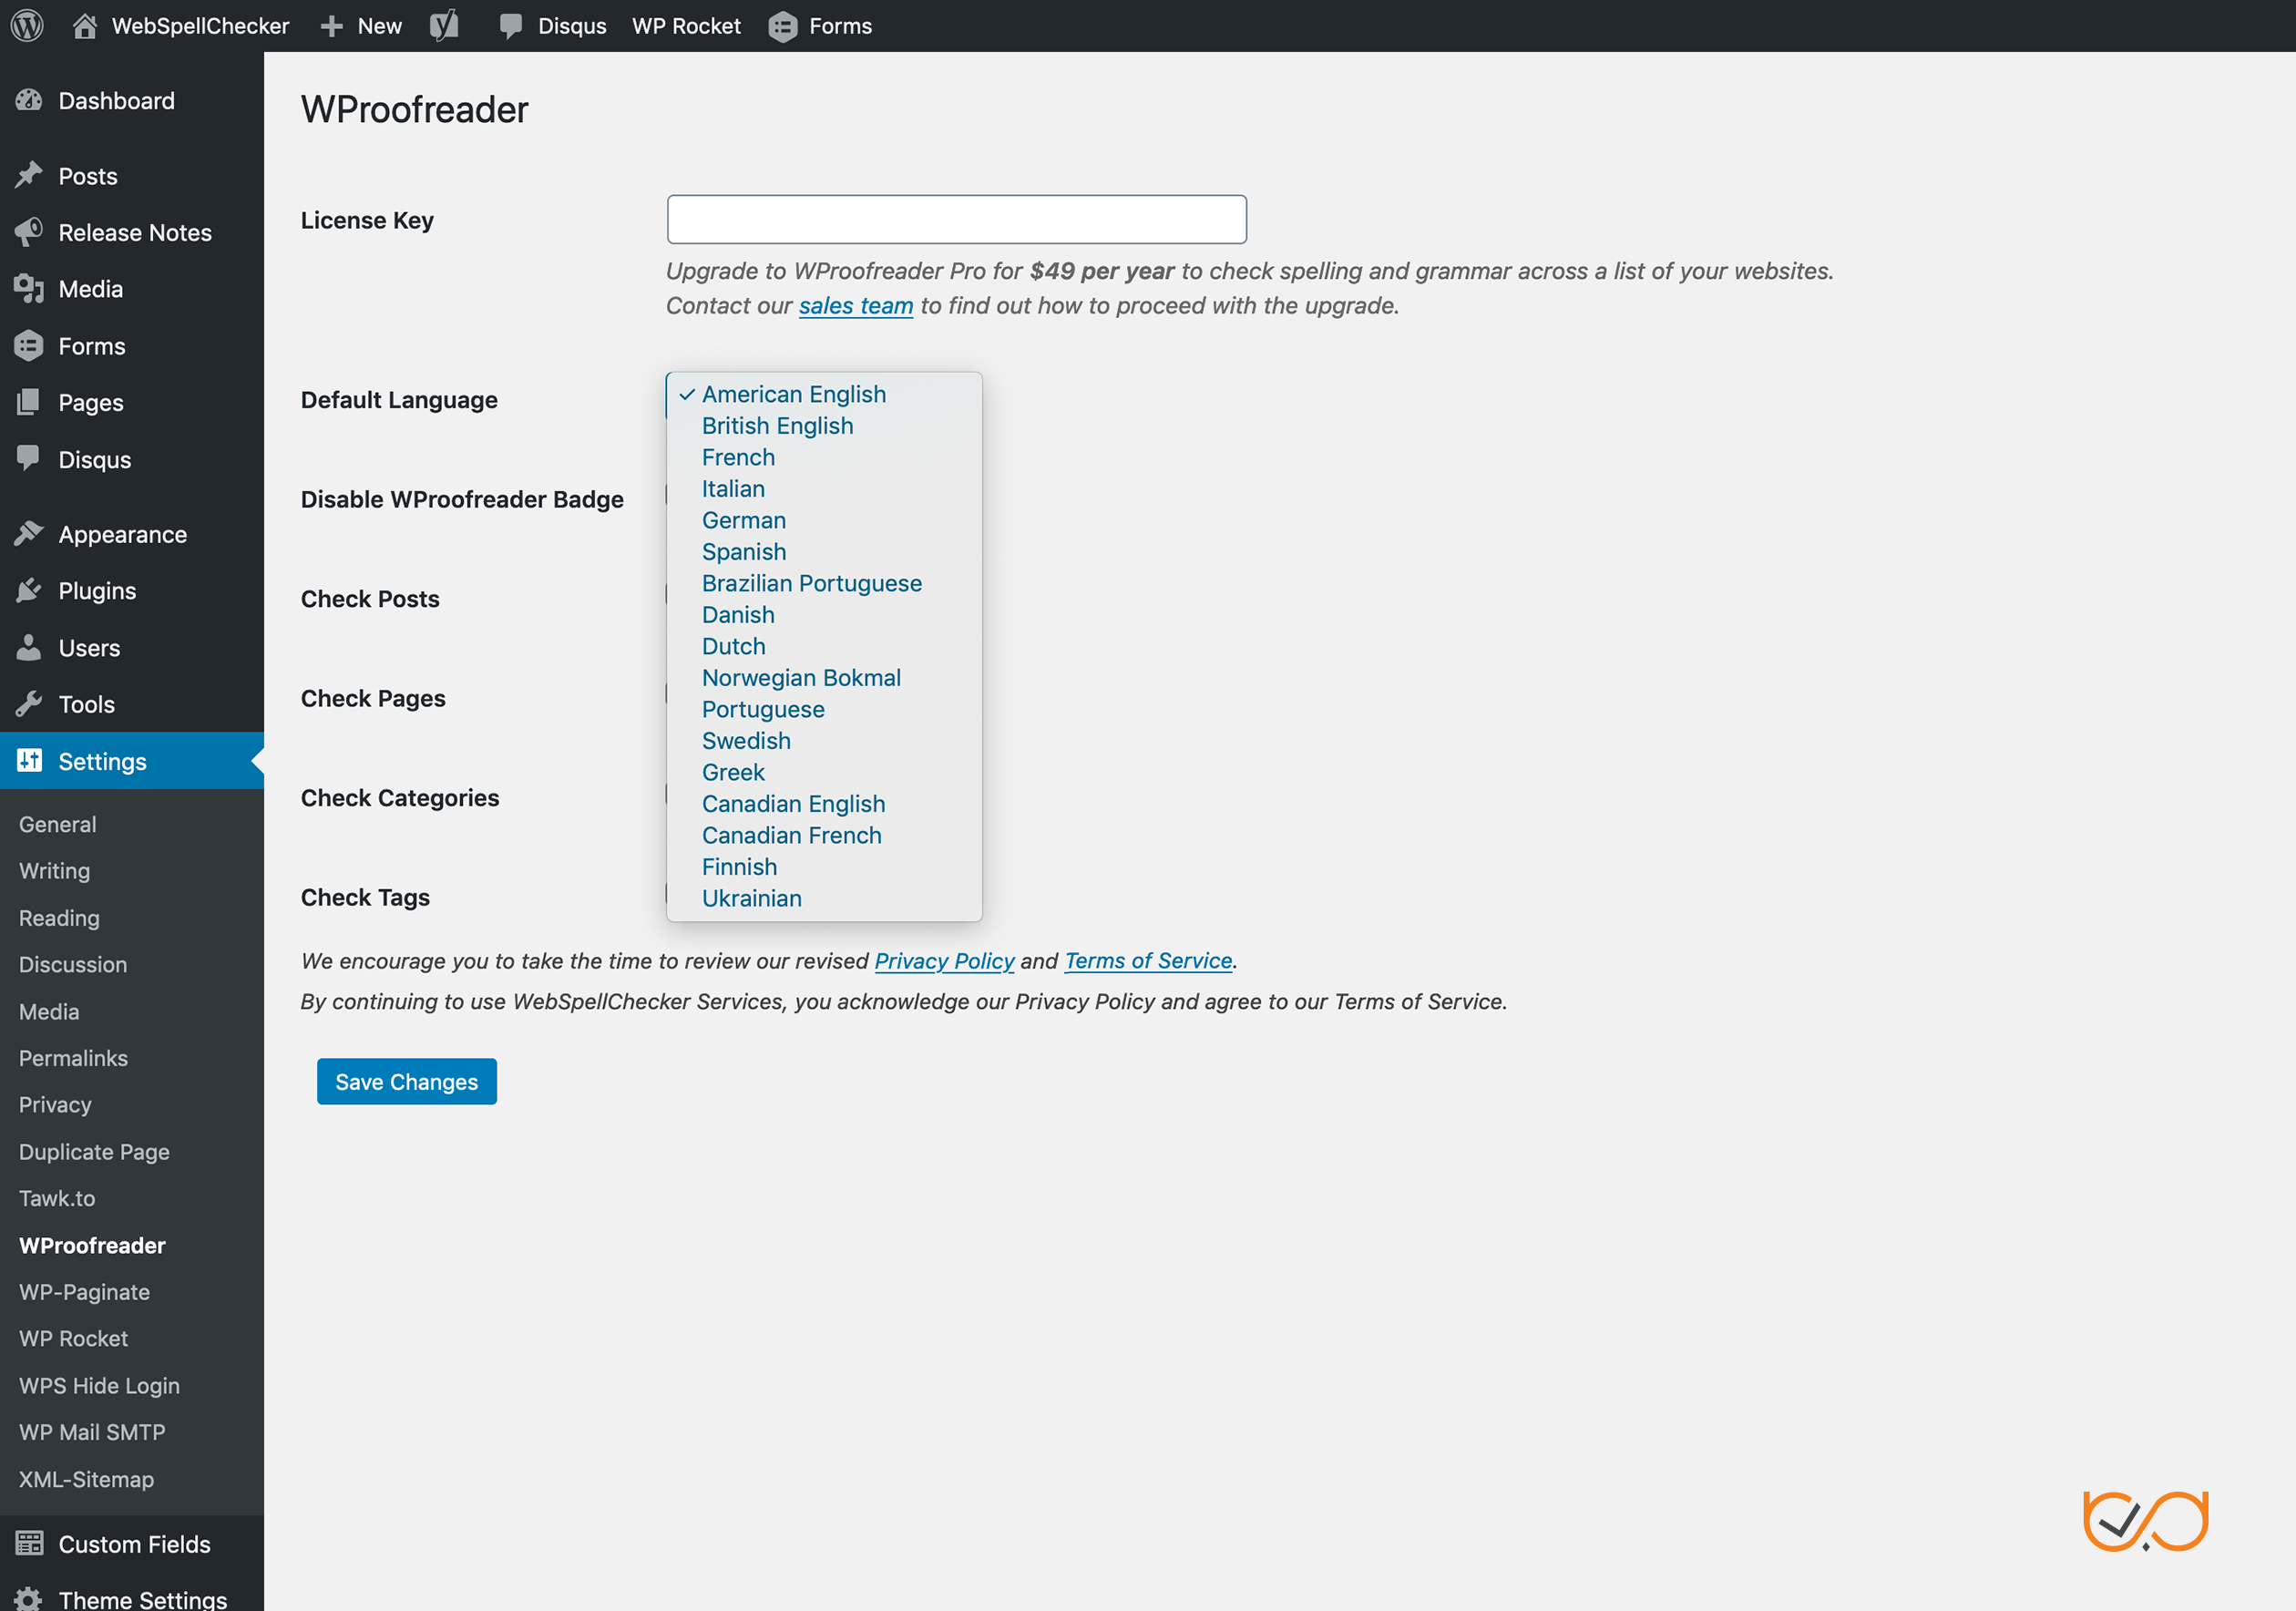
Select the default language for checking from the Default Language drop-down list and click Save Changes to apply the changes.
Disabling WProofreader badge
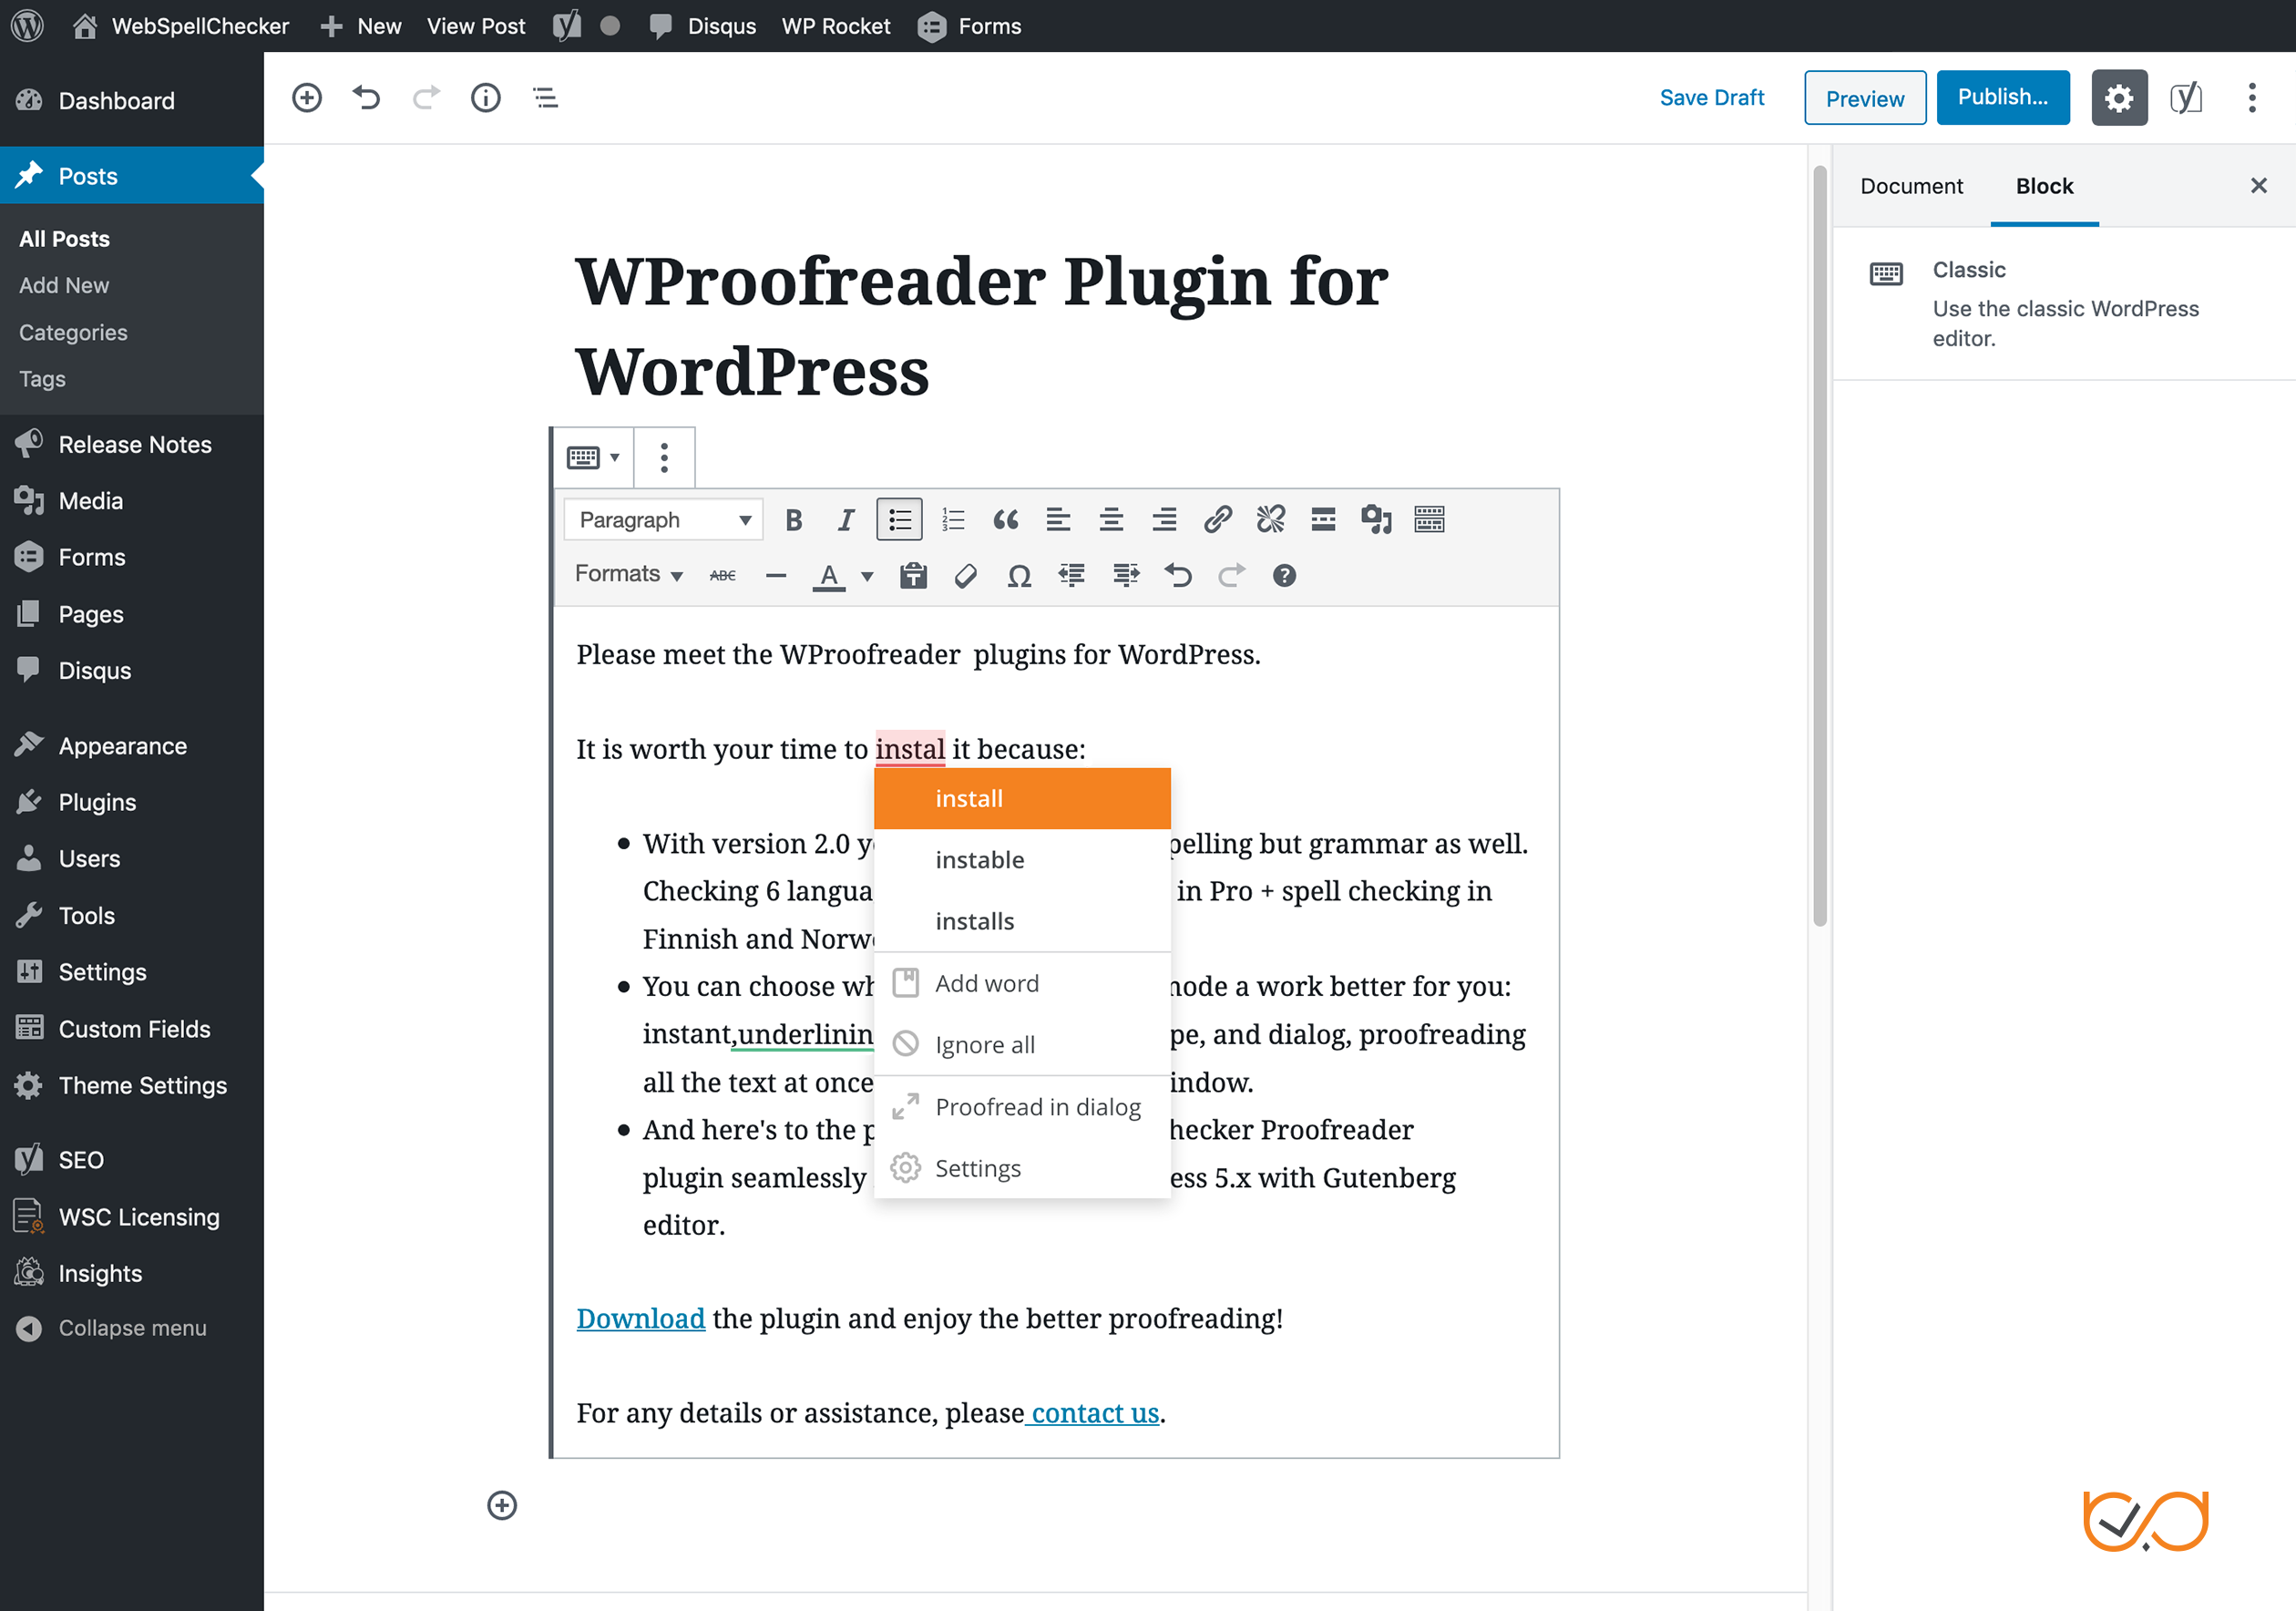
If your website is running under WordPress 5.x with a new Gutenberg WYSIWYG editor, WProofreader will be adding orange badges to each editable section. It might be distracting or even annoying. Thus, we decided to add an option that allows you to disable the badge. To do so, select the Disable WProofreader Badge option and click Save Changes. The badge will be removed from the user interface, and all the action items (Settings, Turn on/off, Proofread in dialog) will be moved to the suggestion balloon/box.
Enable or disable proofreading for the particular category
You can enable or disable proofreading for a particular content category in WordPress. To do so, select one or all available options listed below and click Save Changes:
- Check Posts
- Check Pages
- Check Categories
- Check Tags
Enabling WProofreader for all WordPress administration panel fields
If you want to enable WProofreader plugin for proofreading the content types other than categories mentioned in the Enable or Disable Proofreading for a Particular Category section above, you can add a special ‘wproofreader_add_cpt’ filter in your function.php script.
In the Option A below, text proofreading is performed for a particular WordPress fields only while the Option B shows how to enable proofreading for all administrative panel fields. Thus, you must choose and enable only one option at a time.
Option A. Enabling WProofreader for user-edit.php
When enabling the option for those fields available for edit on user-edit.php page, spelling and grammar check is supported for the fields of this page. You can find it useful, for example, for the Edit Profile page that will support spell checking all fields once you enable WProofreader for this page. To do so, navigate to your function.php and add the following code below:
add_action( 'admin_enqueue_scripts', 'wsc_activate_bundle_in_admin_panel' );
function wsc_activate_bundle_in_admin_panel() {
   if ( class_exists( 'WProofreader' ) ) {
      $screen = get_current_screen();
      if ( 'user-edit' === $screen->id ) {
         $WProofreader = new WProofreader();
         $WProofreader->init_proofreader_js();
      }
   }
}
Option B. Enabling WProofreader for all options of the whole admin panel
When enabling the option for all WProofreader administrative panel, WProofreader performs spelling and grammar check for all available fields. To do so, navigate to your function.php and add the following code below:
add_action( 'admin_enqueue_scripts', 'wsc_activate_bundle_in_admin_panel' );
function wsc_activate_bundle_in_admin_panel() {
	if ( class_exists( 'WProofreader' ) ) {
		$WProofreader = new WProofreader();
		$WProofreader->init_proofreader_js();
	}
}


